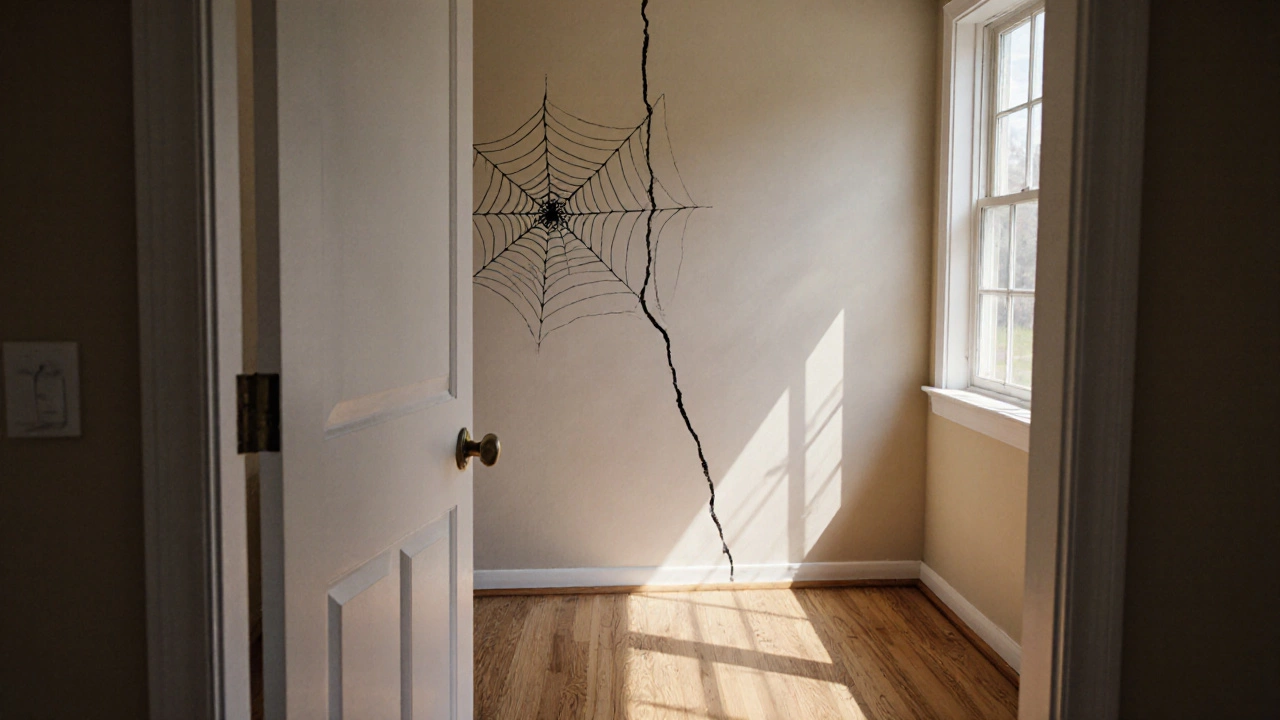
When you notice doors that stick, floors that slope, or cracks spider‑webbing across walls, your house is sending a clear warning: the foundation is shifting. Foundation repair is the process of restoring that critical base to its original strength, and you don’t always need a full‑blown contractor to get it done. With the right plan, a few everyday tools, and a bit of patience, you can tackle many common foundation problems yourself.
Spotting the Signs That Your Foundation Needs Attention
- Horizontal or vertical cracks wider than ¼ inch in basement walls or footings.
- Doors and windows that jam or no longer close flush.
- Uneven floors that reveal gaps under carpet or tiles.
- Moisture buildup or mold in crawl spaces.
- Noticeable tilting of the entire structure when you walk around it.
Before you grab a hammer, run a simple foundation repair checklist: measure the width of cracks with a ruler, photograph each issue for reference, and note any recent heavy rains or landscaping changes that might have altered soil pressure.
Safety First: Assessing the Damage
Not every crack is a structural emergency. Small hairline fissures often just need sealing, while larger separations may signal serious settlement.
- Wear sturdy gloves and safety glasses.
- Use a Hydraulic jack to lift a small section of the floor if you suspect a sag - never attempt to lift the entire house solo.
- Consult a structural engineer if cracks exceed ½ inch or appear in load‑bearing walls.
Most DIY homeowners find that addressing the problem early saves money and prevents future damage.
Choosing the Right DIY Repair Method
Three popular approaches work well for typical residential foundations:
- Epoxy injection - fills and bonds cracks in Concrete without adding bulk.
- Carbon fiber reinforcement - applies high‑strength strips on the interior side of walls to resist future movement.
- Pier and beam - installs steel or concrete piers beneath the slab to physically lift and support sagging sections.
Each method has its sweet spot; the table below breaks down cost, labor intensity, and ideal use case.
| Method | Typical Cost (UK) | Labor Level | Best For |
|---|---|---|---|
| Epoxy injection | £150‑£300 per linear metre | Low - simple mixing and pumping | Hairline to medium cracks, non‑structural |
| Carbon fiber reinforcement | £300‑£600 per wall | Medium - requires surface prep and curing | Vertical cracks, walls showing bowing |
| Pier and beam | £1,200‑£3,500 per pier | High - digging, setting, and jacking | Significant settlement, slab sagging |
Step‑by‑Step: Epoxy Injection for Crack Repair
- Clear the crack of loose debris using a wire brush and a shop‑vac.
- Inject a two‑part Epoxy filler using a caulking gun fitted with a narrow nozzle. Start at the deepest point and work outward.
- Let the epoxy cure for the manufacturer‑specified time (usually 24‑48 hours).
- Sand the surface smooth and apply a thin coat of waterproof sealant.
Epoxy creates an internal bond that restores the concrete’s tensile strength, essentially making the crack disappear.

Step‑by‑Step: Installing Carbon Fiber Reinforcement
- Expose the interior face of the affected wall by removing a small section of drywall.
- Clean the area thoroughly; any dust will weaken the resin bond.
- Mix the epoxy resin according to the product instructions.
- Apply the resin to the wall, then press the pre‑cut carbon fiber strip into place, ensuring full contact.
- Use a roller to eliminate air bubbles, then allow the resin to cure (typically 12‑18 hours).
- Re‑install the drywall and finish as usual.
Carbon fiber adds tensile strength equivalent to several inches of steel, but it’s lightweight and doesn’t require digging.
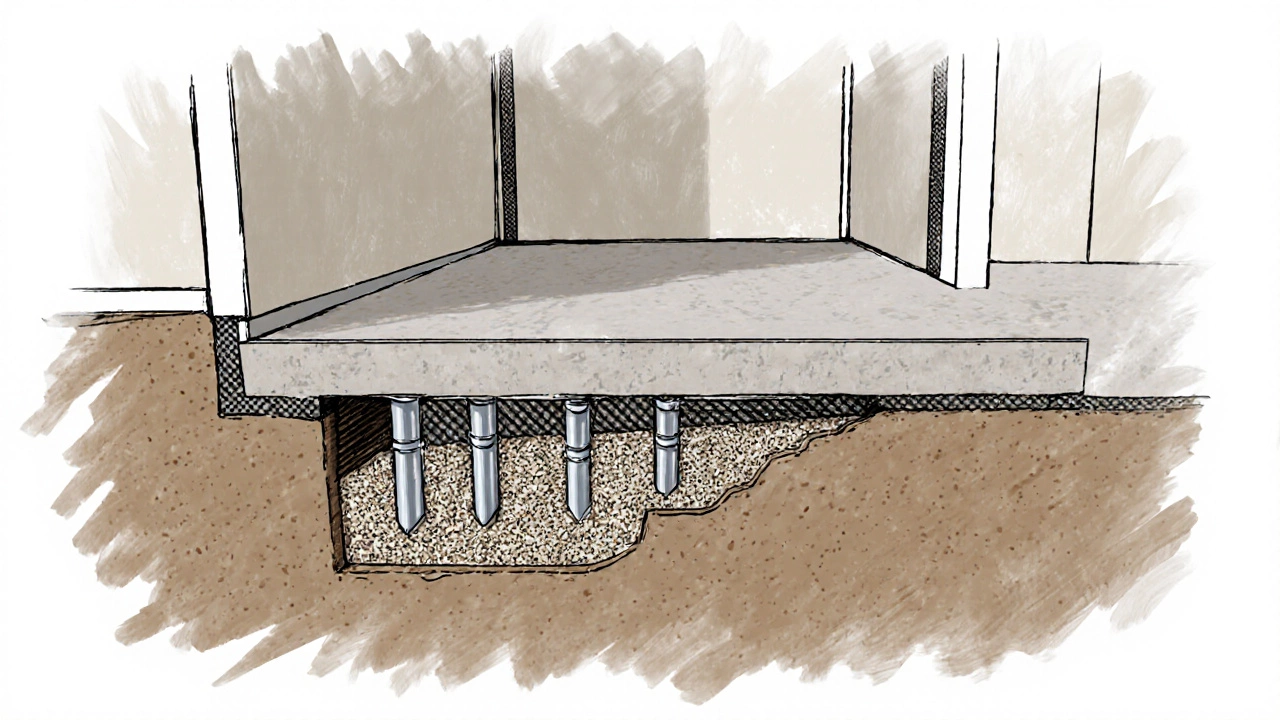
Step‑by‑Step: Pier and Beam Installation
- Identify the low spots using a long level or laser level.
- Mark the locations for steel or precast concrete piers, typically 1‑2 m apart.
- Excavate a hole at each mark to a depth below the frost line (around 900 mm in Manchester).
- Place a pre‑formed pier, ensuring it sits level.
- Attach a hydraulic jack atop the pier and slowly raise the foundation until it reaches the desired level.
- Fill the void around the pier with compacted gravel, then backfill with soil.
- Install a Moisture barrier over the soil to prevent future water pressure.
This method physically re‑levels the slab and provides long‑term support, especially in areas with expansive clay soils.
Tools, Materials, and Cost Overview
- Protective gear - gloves, goggles, respirator.
- Wire brush, shop‑vac, and utility knife.
- Epoxy filler or carbon fiber kits (available at most DIY stores).
- Hydraulic jack and steel piers for deep settlement.
- Moisture barrier rolls, gravel, and compacting tool.
- Basic hand tools - hammer, level, measuring tape.
Overall, a DIY approach can shave 30‑50 % off professional quotes, but the true savings come from catching problems early.
Common Pitfalls and Pro Tips
- Don’t skip soil testing. Clay soils expand dramatically when wet; a moisture barrier and proper drainage are essential.
- Make sure cracks are clean; any dust or oil will prevent epoxy from bonding.
- When using carbon fiber, maintain a minimum overlap of 150 mm between strips for continuous strength.
- During pier installation, monitor the level constantly - over‑lifting can create new stress points.
- Consider installing a Sump pump in the crawl space if water buildup is frequent.
After‑Repair Maintenance Checklist
- Inspect repaired areas quarterly for new cracks or moisture.
- Keep gutters and downspouts clear; direct water at least 1.5 m away from the foundation.
- Maintain proper grading around the house - a gentle slope away from the walls helps.
- Schedule an annual professional assessment if major work was done.
Consistent upkeep extends the life of your DIY fixes and keeps the house safe for years to come.
Frequently Asked Questions
Can I use regular construction glue instead of epoxy?
No. Standard glues don’t bond to concrete under pressure and will fail when the foundation settles again. Epoxy is specially formulated to penetrate and bond with the cement matrix.
How deep should I dig for piers in Manchester?
Aim for the frost line, roughly 900 mm deep in Manchester, to prevent seasonal heave. Local council guidelines may have specific depth requirements.
Is carbon fiber reinforcement visible inside the house?
Only if you remove the drywall or plaster covering the wall. The strips are thin and usually hidden behind finished surfaces.
Do I need a permit for DIY pier installation?
Many UK local authorities require a Building Notice for structural work. Check with your council before digging and installing piers.
What’s the best way to keep moisture out of my crawl space?
Install a vapor‑proof moisture barrier, add vent fans or a dehumidifier, and ensure proper grading. A Sump pump can also evacuate water that pools after heavy rain.